
Electron Setting
Electron 개발환경을 설치 및 설정하고 튜토리얼을 통해 기본적인 Electron 프로그램을 만들어 본다.
준비사항
다음 프로그램들이 설치되어 있어야 한다.
다음 명령으를 통해 확인할 수 있다.
❯ node -v
v12.14.1

❯ npm -v
6.13.7

❯ yarn -v
1.21.1
설치
Electron을 설치할 때는 개발 의존성 모드로 설치할 것을 권장한다.
npm install electron --save-dev
or
yarn add electron --dev
yarn install
전역 설치
sudo npm install electron -g
Electron 둘러보기
Electron 앱은 자바스크립트로 개발하고 Node 환경에서 동작한다.
Tutorial{:target=“blank”}을 통해 기본적인 구조를 파악해 보자.
프로젝트 초기화
Electron이 동작하는 환경이 Node 이기 때문에 npm init 명령어를 통해 프로젝트를 초기화 한다.
❯ mkdir first-app

❯ npm init
This utility will walk you through creating a package.json file.
It only covers the most common items, and tries to guess sensible defaults.

See `npm help json` for definitive documentation on these fields
and exactly what they do.

Use `npm install <pkg>` afterwards to install a package and
save it as a dependency in the package.json file.

Press ^C at any time to quit.
package name: (first-app)
version: (1.0.0) 0.1.0
description: First Electron App
entry point: (index.js) main.js
test command:
git repository:
keywords:
author: geeksaga
license: (ISC) MIT
About to write to /home/test/first-app/package.json:

{
  "name": "first-app",
  "version": "0.1.0",
  "description": "First Electron App",
  "main": "main.js",
  "scripts": {
    "test": "echo \"Error: no test specified\" && exit 1"
  },
  "author": "geeksaga",
  "license": "MIT"
}


Is this OK? (yes)
프로젝트 초기화를 진행하면 package.json 파일이 생성된다.
다음으로 npm init 명령어로 초기화시에 entry point에 입력한 main.js 파일을 생성한다.
const { app, BrowserWindow } = require('electron')

function createWindow () {
    let win = new BrowserWindow({
        width: 800,
        height: 600,
        webPreferences: {
            nodeIntegration: true
        }
    });

    win.setMenuBarVisibility(false);
    win.loadFile('index.html');

    win.webContents.openDevTools();

    win.once('closed', () => window = null);
}

app.whenReady().then(createWindow)

app.on('window-all-closed', () => {
    if (process.platform !== 'darwin') {
        app.quit()
    }
})

app.on('activate', () => {
    if (BrowserWindow.getAllWindows().length === 0) {
        createWindow()
    }
})
마지막으로 win.loadFile('index.html')에 있는 index.html을 생성한다.
<html>
  <head>
    <meta charset="UTF-8">
    <title>Hello World!</title>
    <!-- https://electronjs.org/docs/tutorial/security#csp-meta-tag -->
    <meta http-equiv="Content-Security-Policy" content="script-src 'self' 'unsafe-inline';" />
  </head>
  <body>
    <h1>Hello World!</h1>
    We are using node <script>document.write(process.versions.node)</script>,
    Chrome <script>document.write(process.versions.chrome)</script>,
    and Electron <script>document.write(process.versions.electron)</script>.
  </body>
</html>
최종적인 프로젝트 구조는 다음과 같다.
first-app/
├── index.html
├── main.js
├── node_modules
├── package.json
실행
프로젝트의 실행은 npm start 명령어를 통해 실행한다.
npm start
npm ERR! missing script: start
...
npm start를 통해 프로그램을 실행하면 script: start가 없어서 에러가 발생한다.
package.json 파일을 열어 scripts 부분에 *“start”: “electron ."*를 추가하고 저장한다.
  "main": "main.js",
  "scripts": {
	"start": "electron .",
    "test": "echo \"Error: no test specified\" && exit 1"
  },
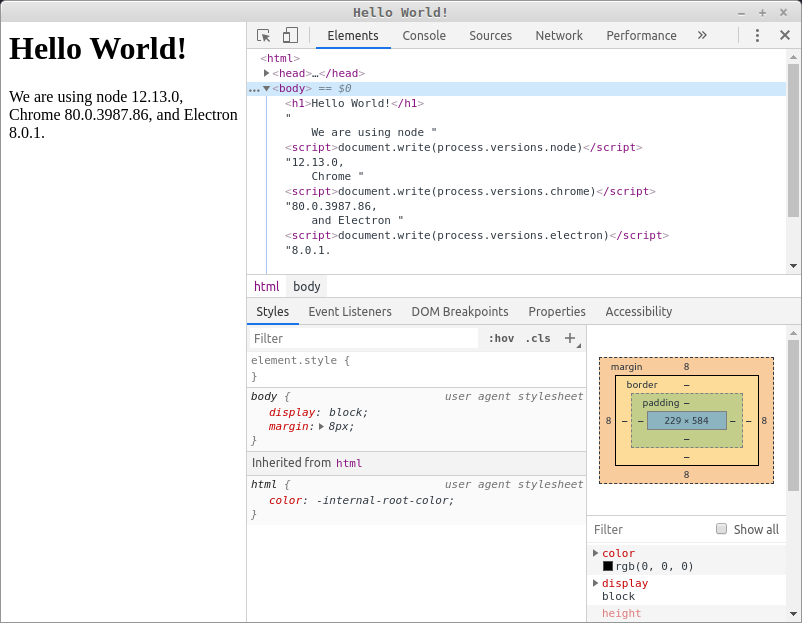
다시 npm start 명령어를 실행하면 결과 화면을 볼 수 있다.
참고링크
- Electron Install
- [Electron Quick Setup Guide][2]
- [Electron Boilerplates][3]
- [Electron Docs][4]
{:target=“blank”} [2]: https://github.com/electron-userland/electron-builder#quick-setup-guide “Electron Quick Setup Guide” {:target=“blank”} [3]: https://www.electron.build/#boilerplates “Electron boilerplates” {:target=“blank”} [4]: https://www.electronjs.org/docs “Electron 문서”
